SOLAR ADDRESS Mailbox Post | Led | Illuminated Address Sign | Solar Powered Street Number Post | Lighted Yard Sign | White or 9 Colors
SOLAR ADDRESS Mailbox Post | Led | Illuminated Address Sign | Solar Powered Street Number Post | Lighted Yard Sign | White or 9 Colors
Couldn't load pickup availability
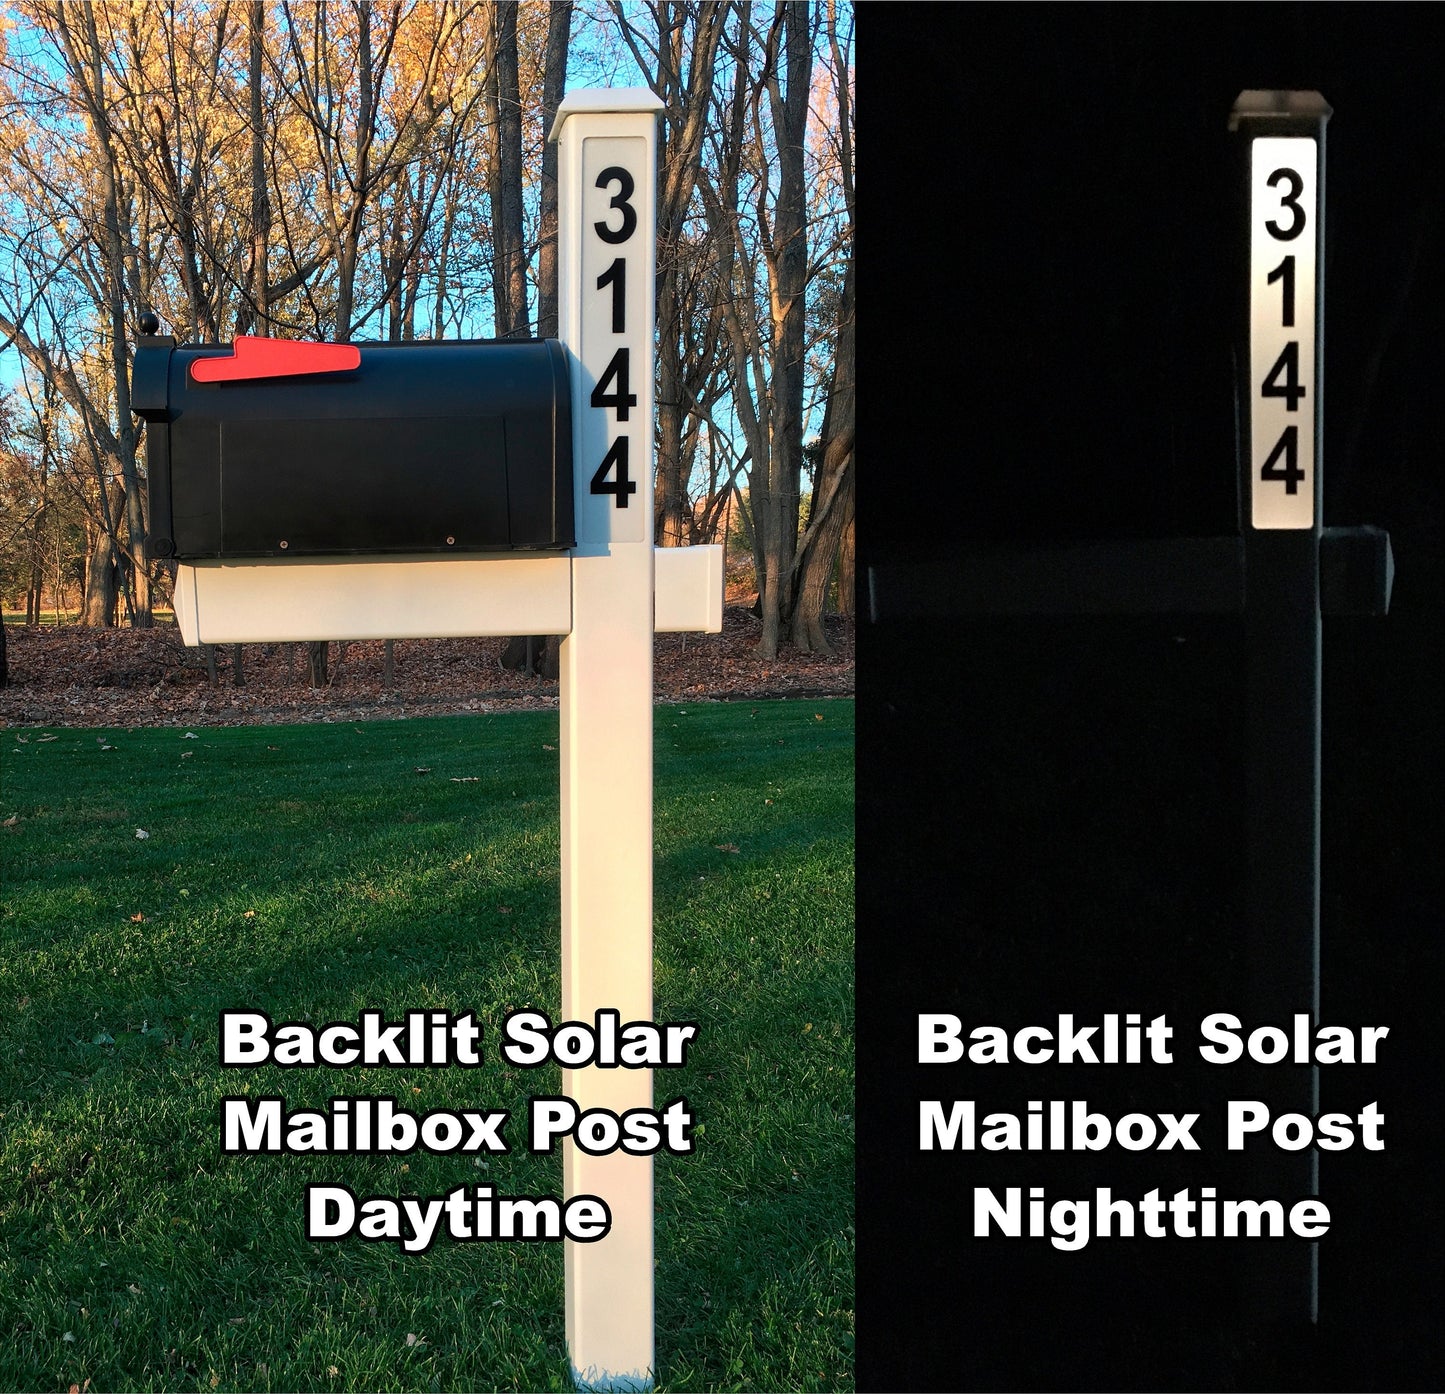
BEAUTIFUL MAILBOX POST AND MAILBOX WITH INTEGRAL SOLAR LED BACKLIT ADDRESS SIGNS ON EACH SIDE OF UPRIGHT POST
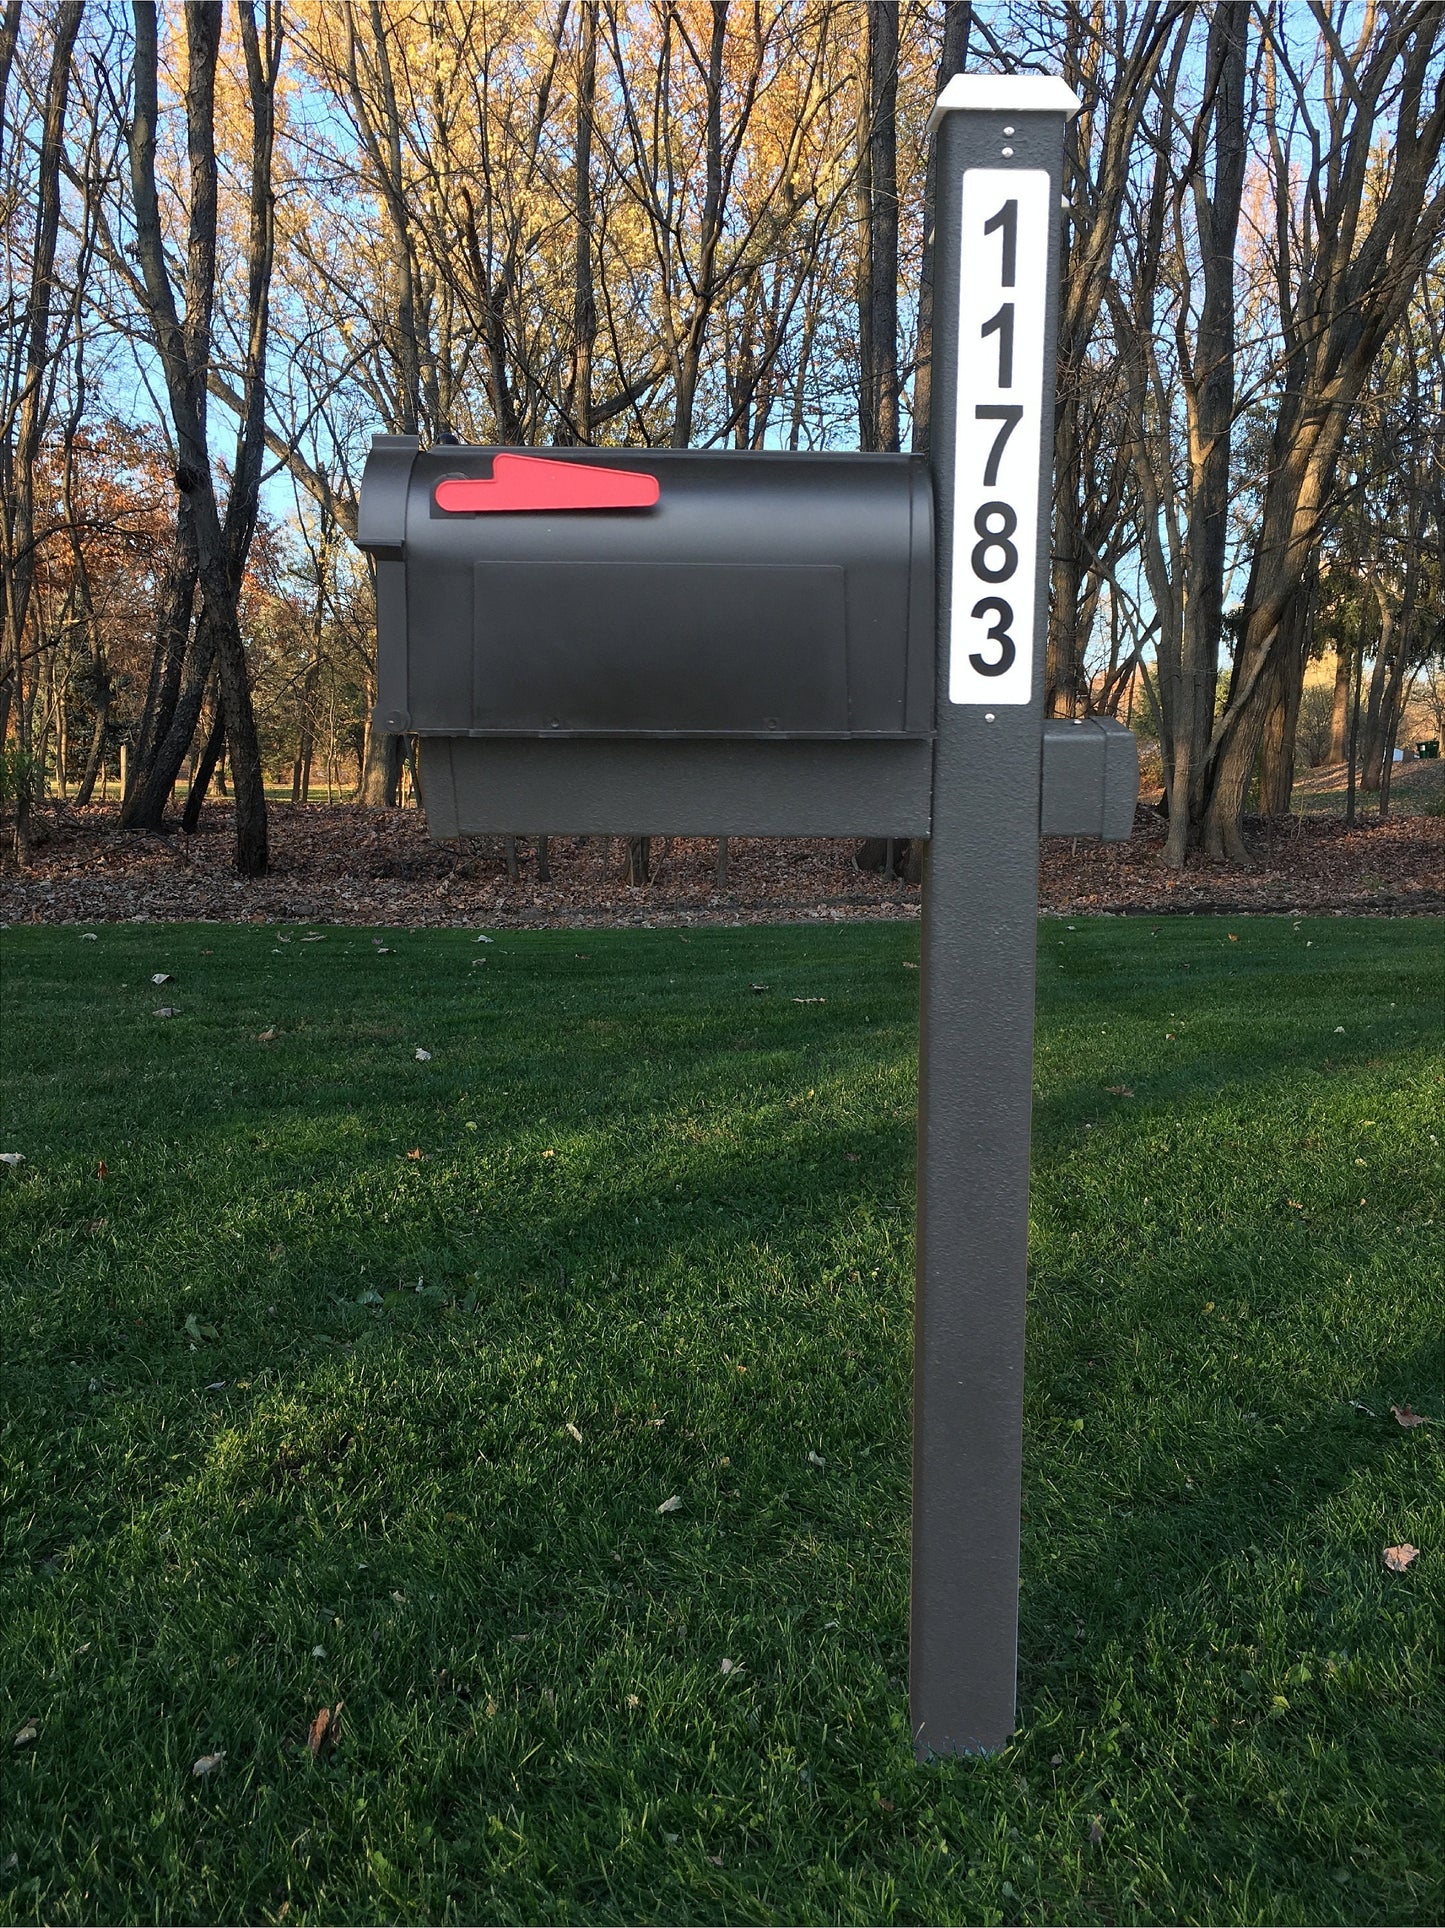
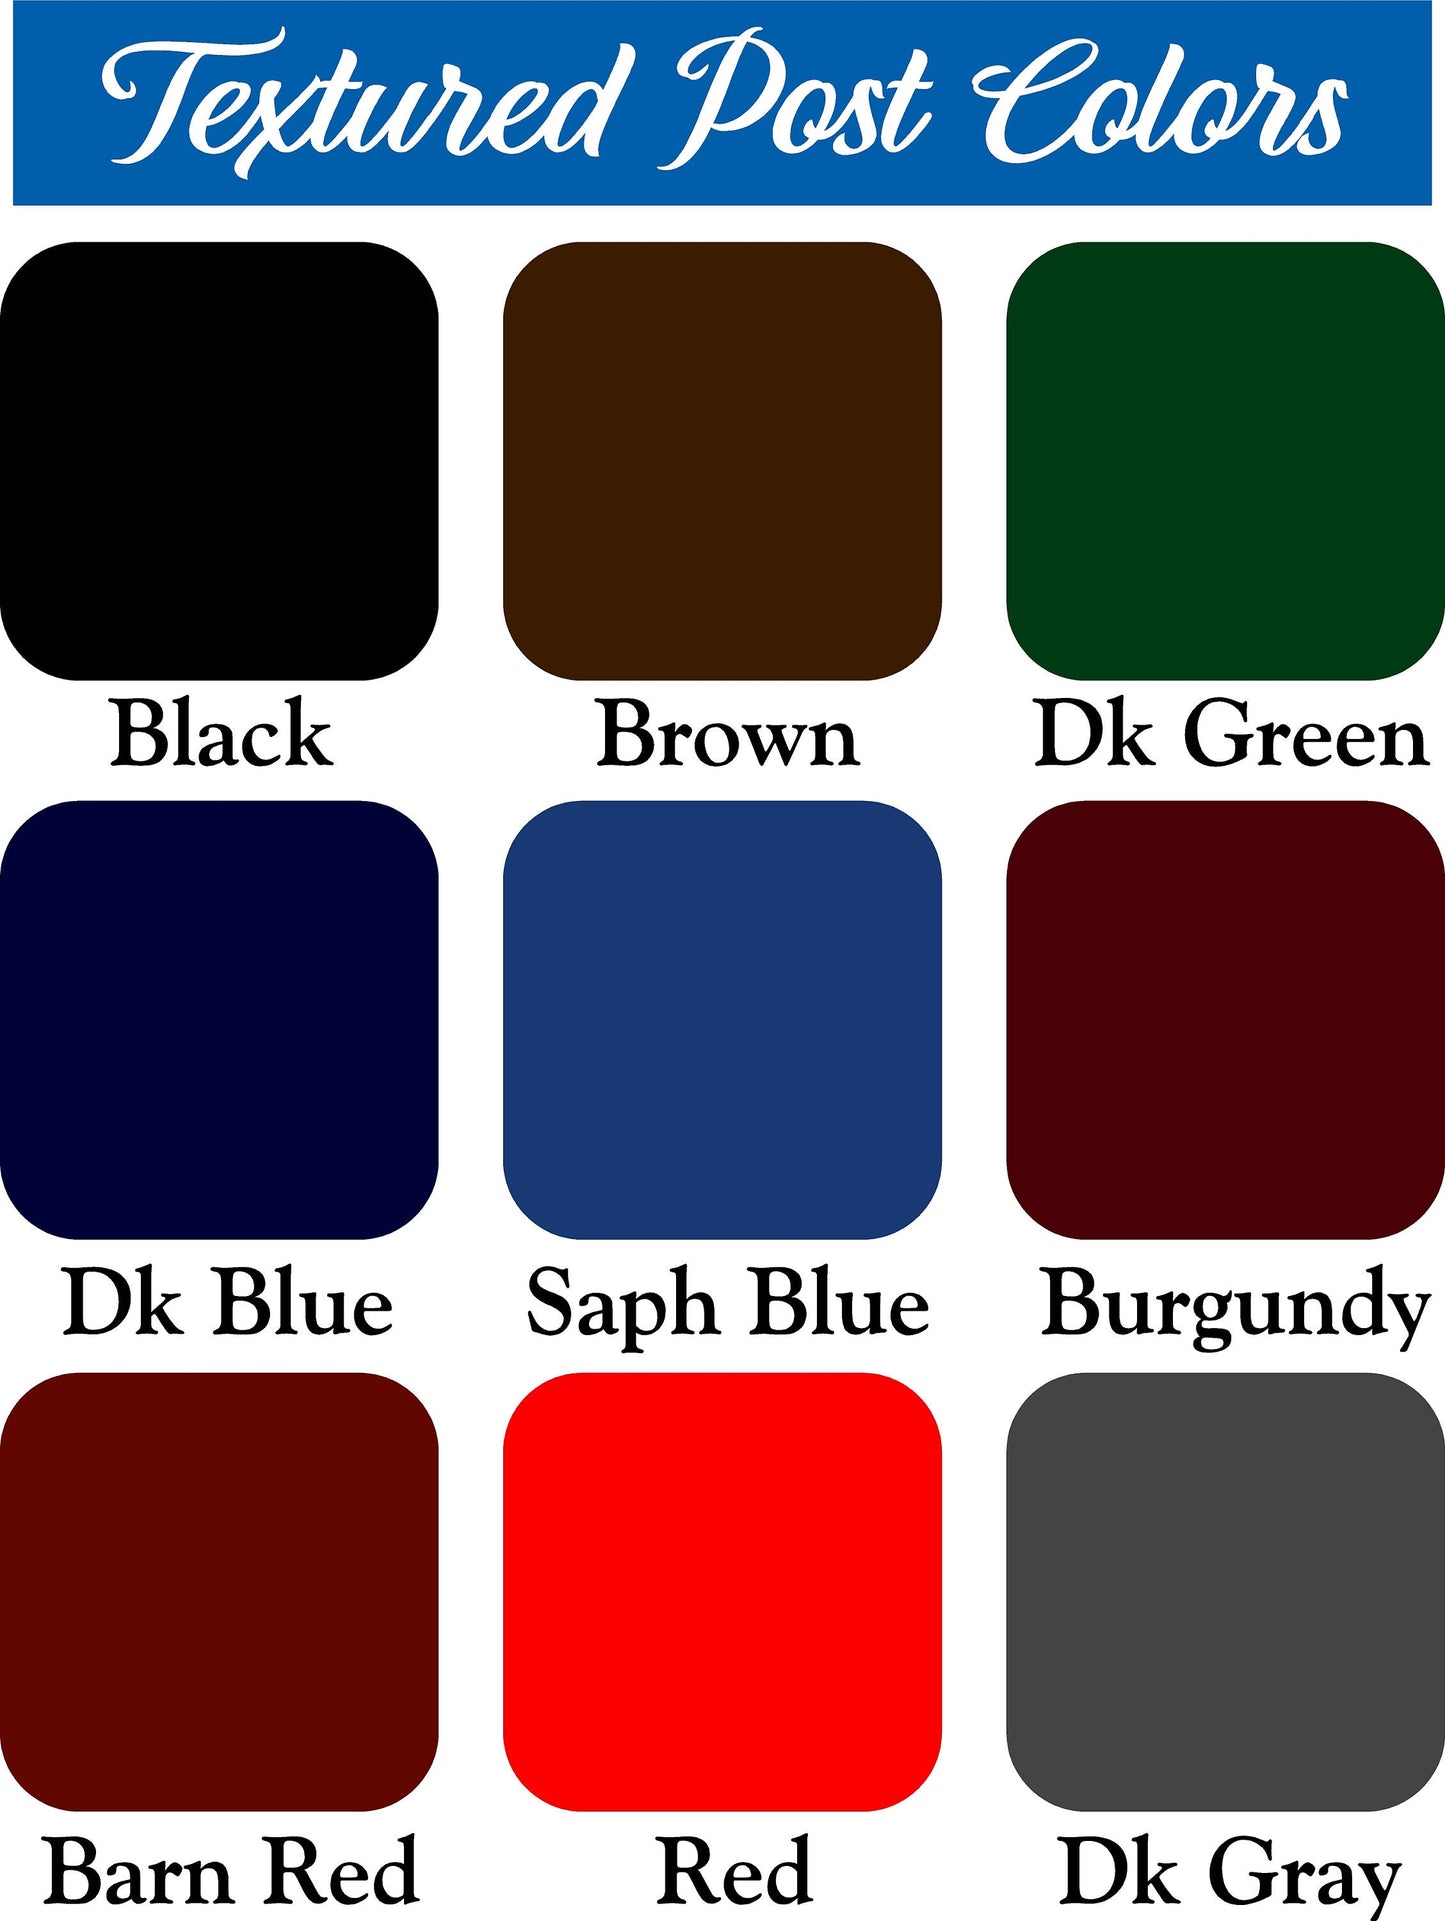
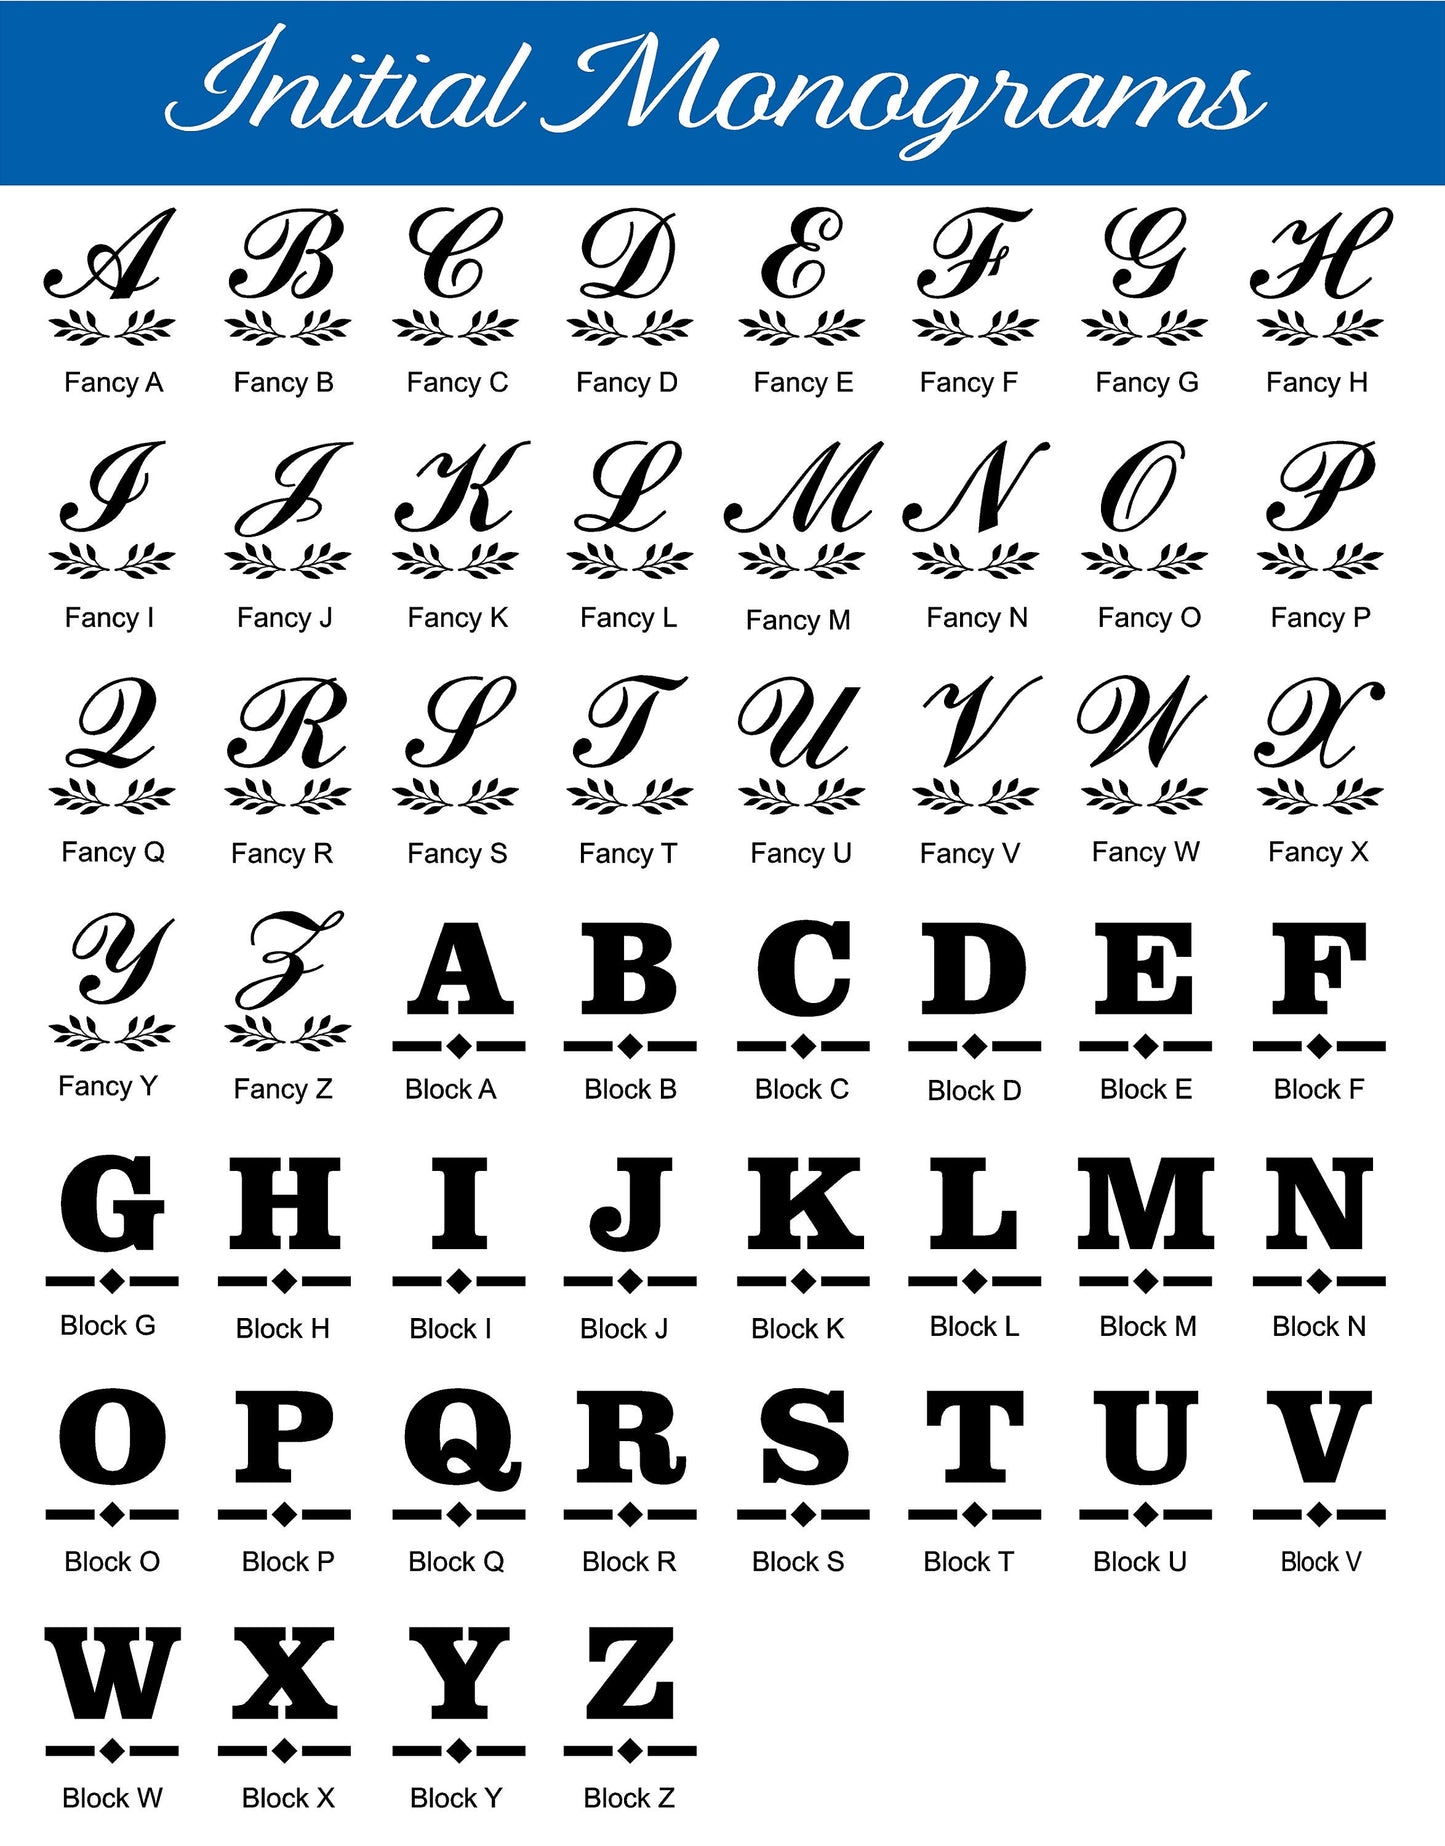
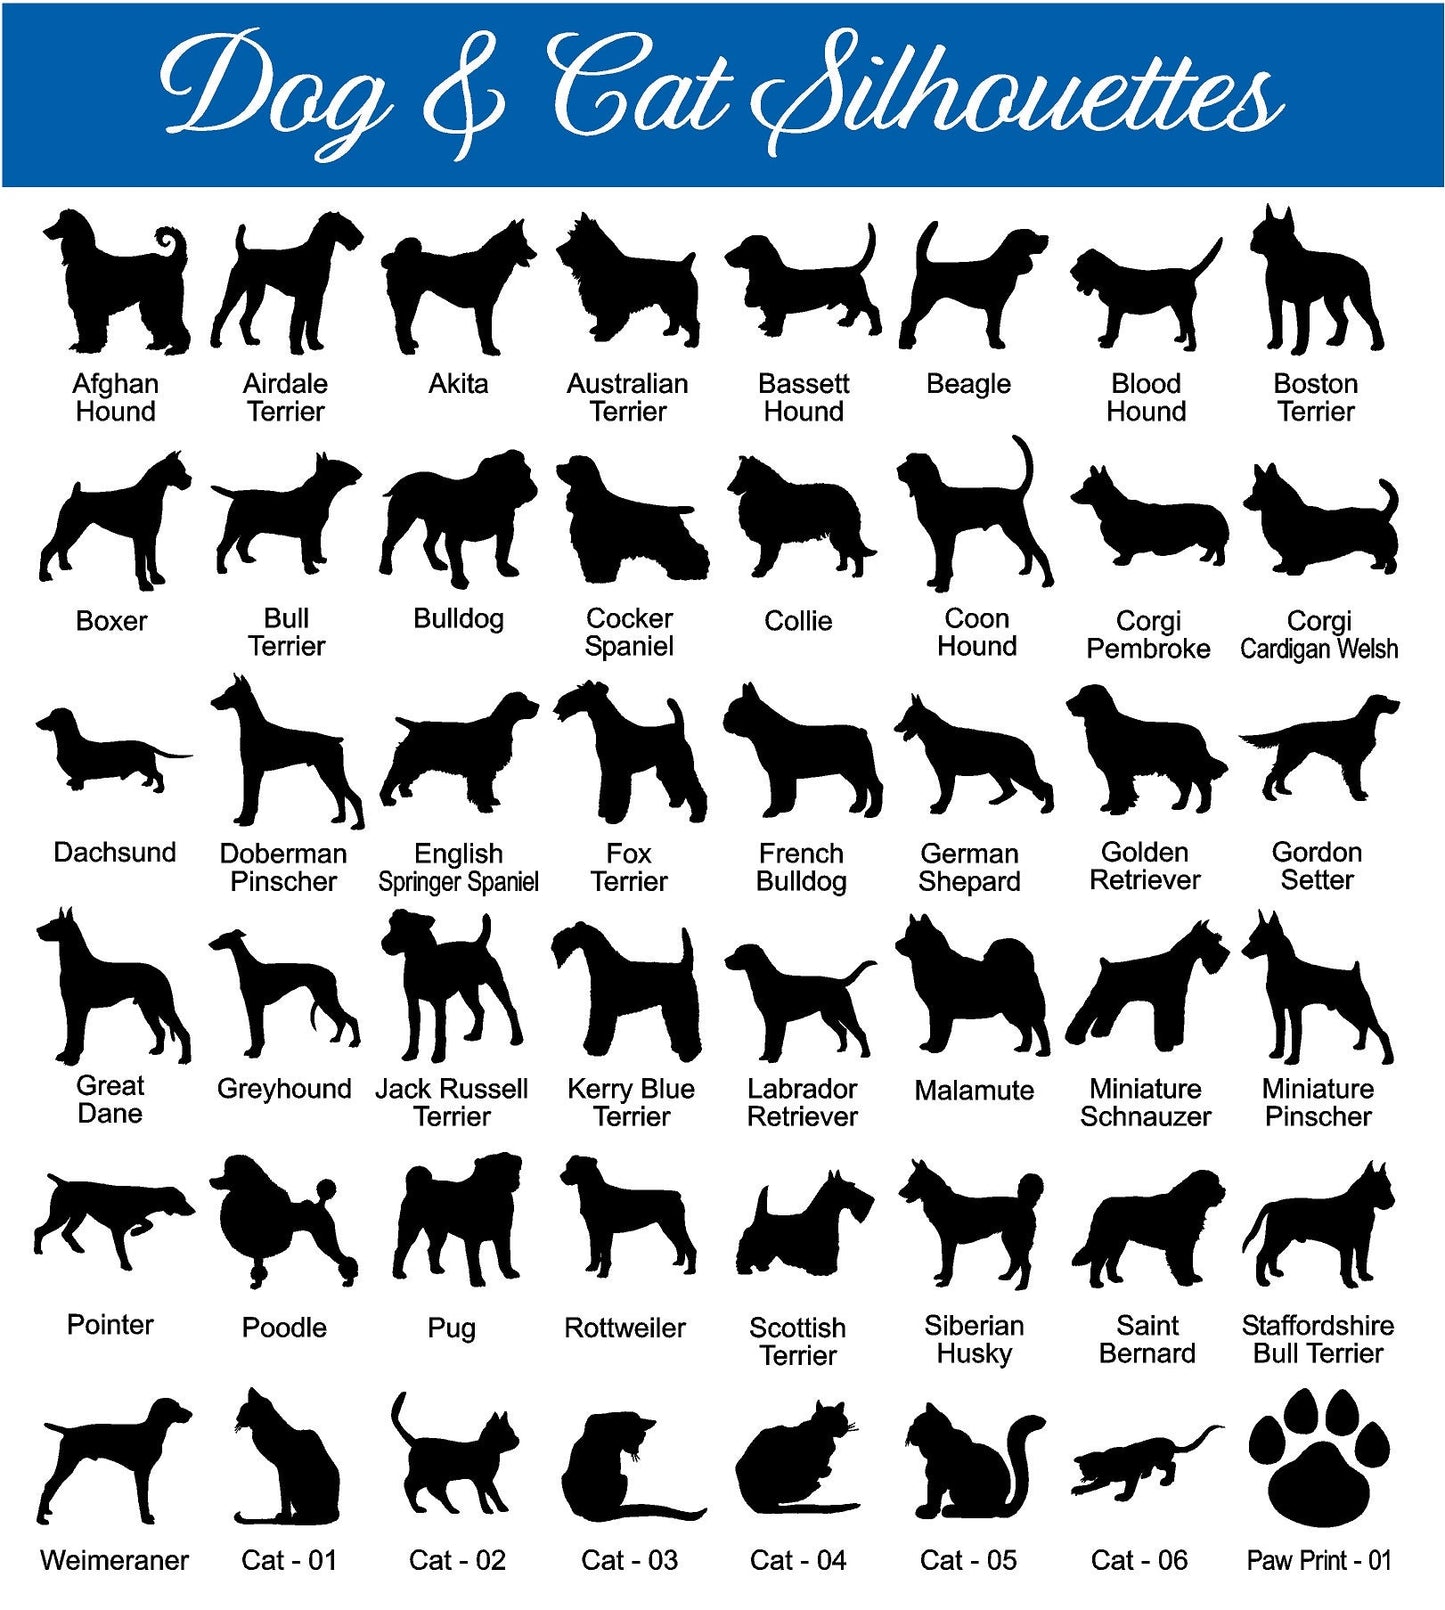
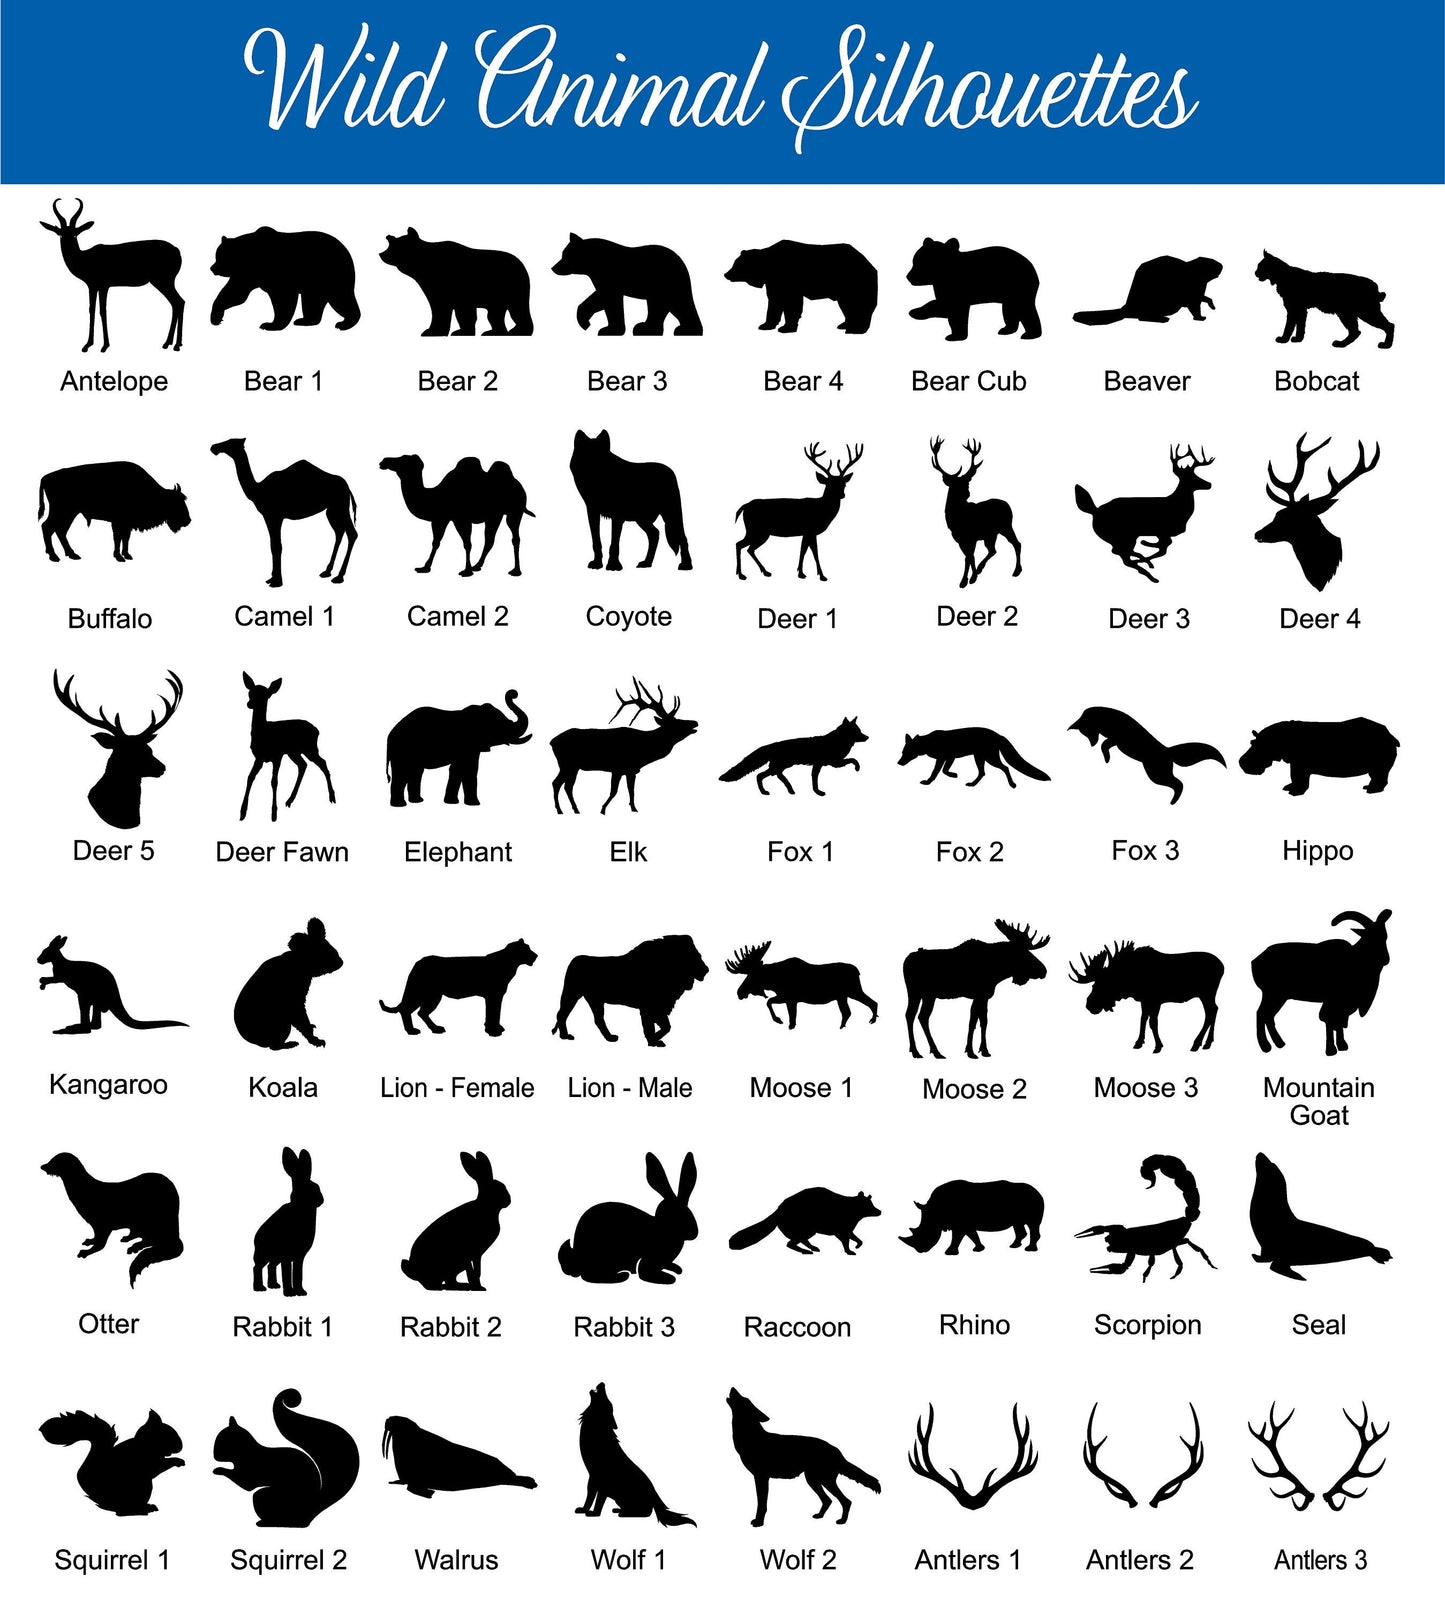
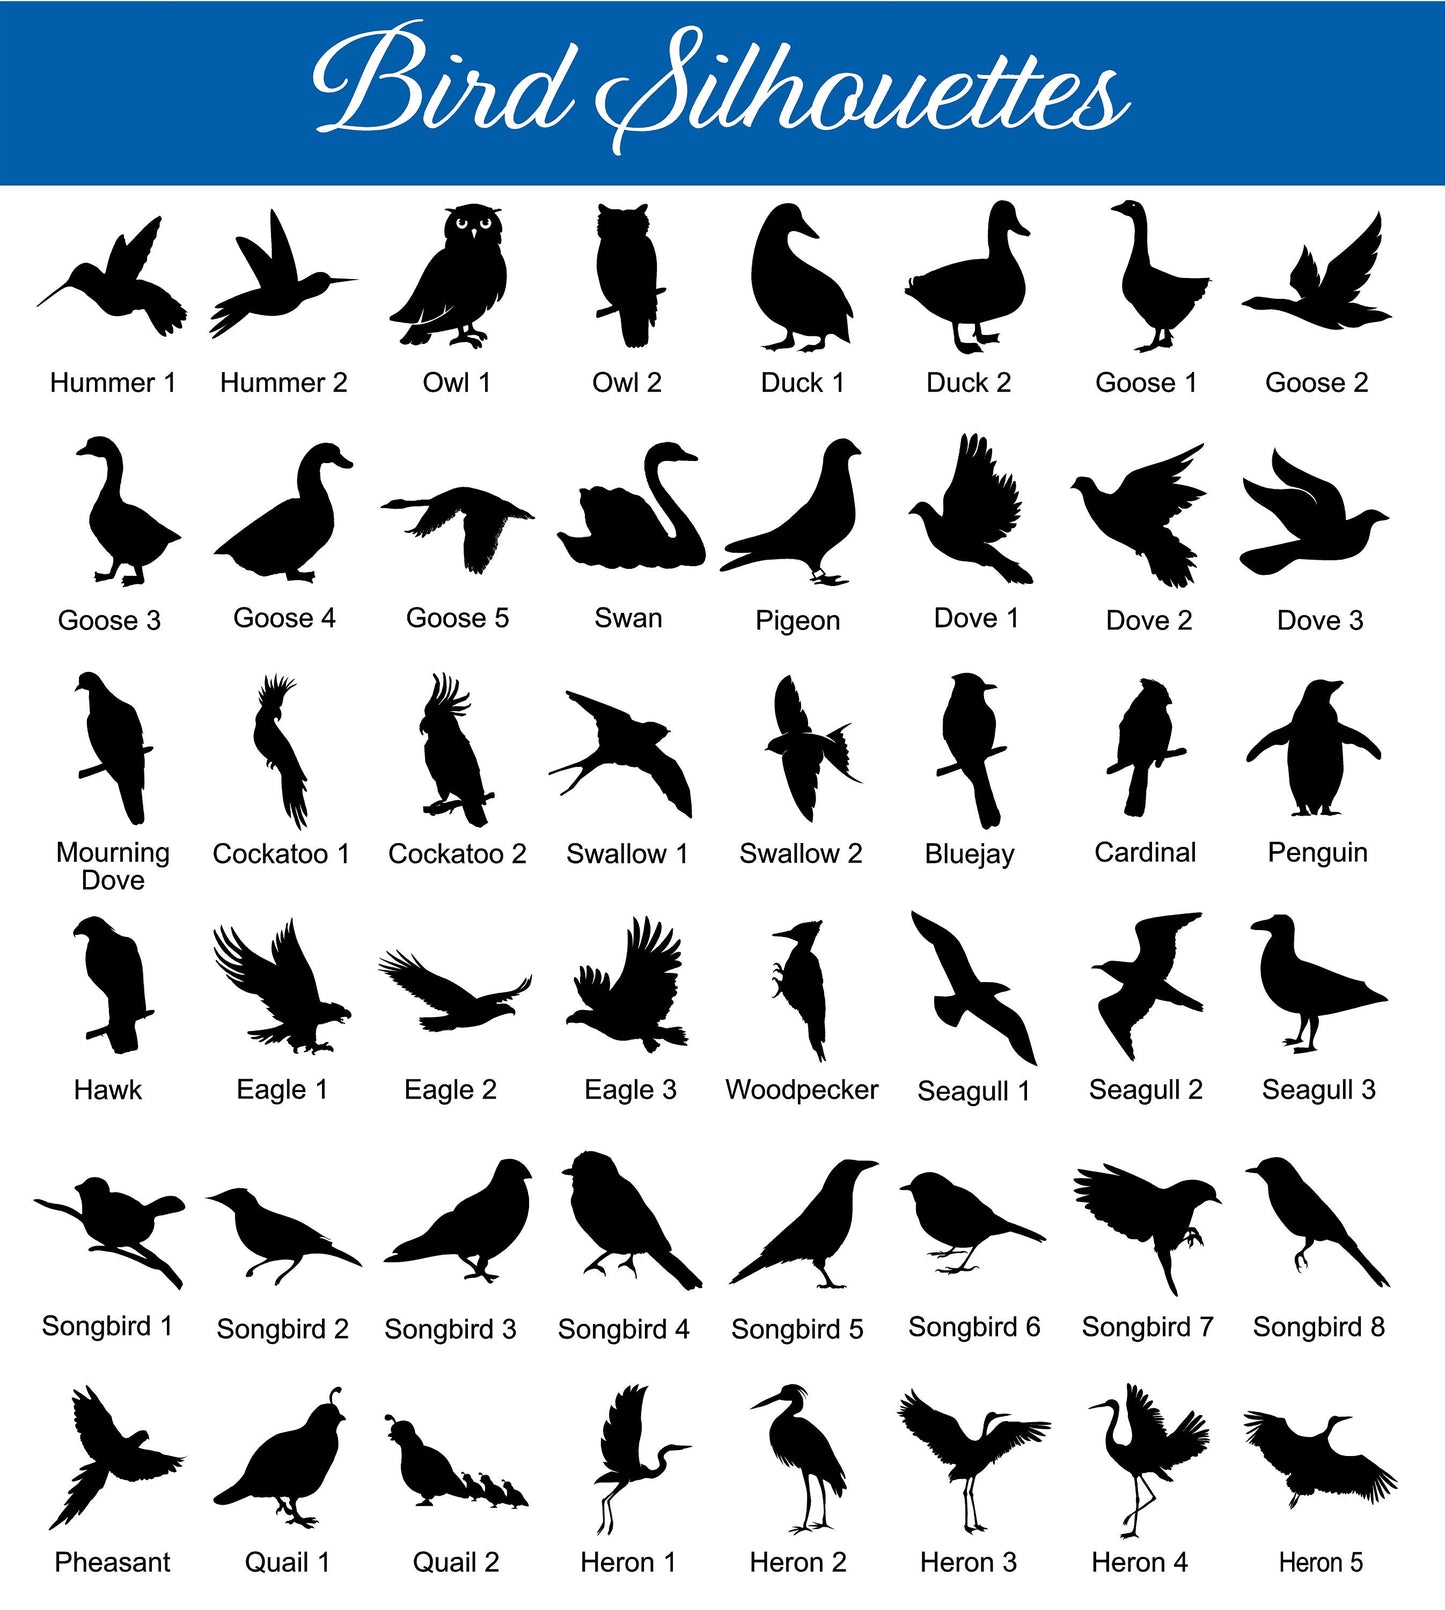
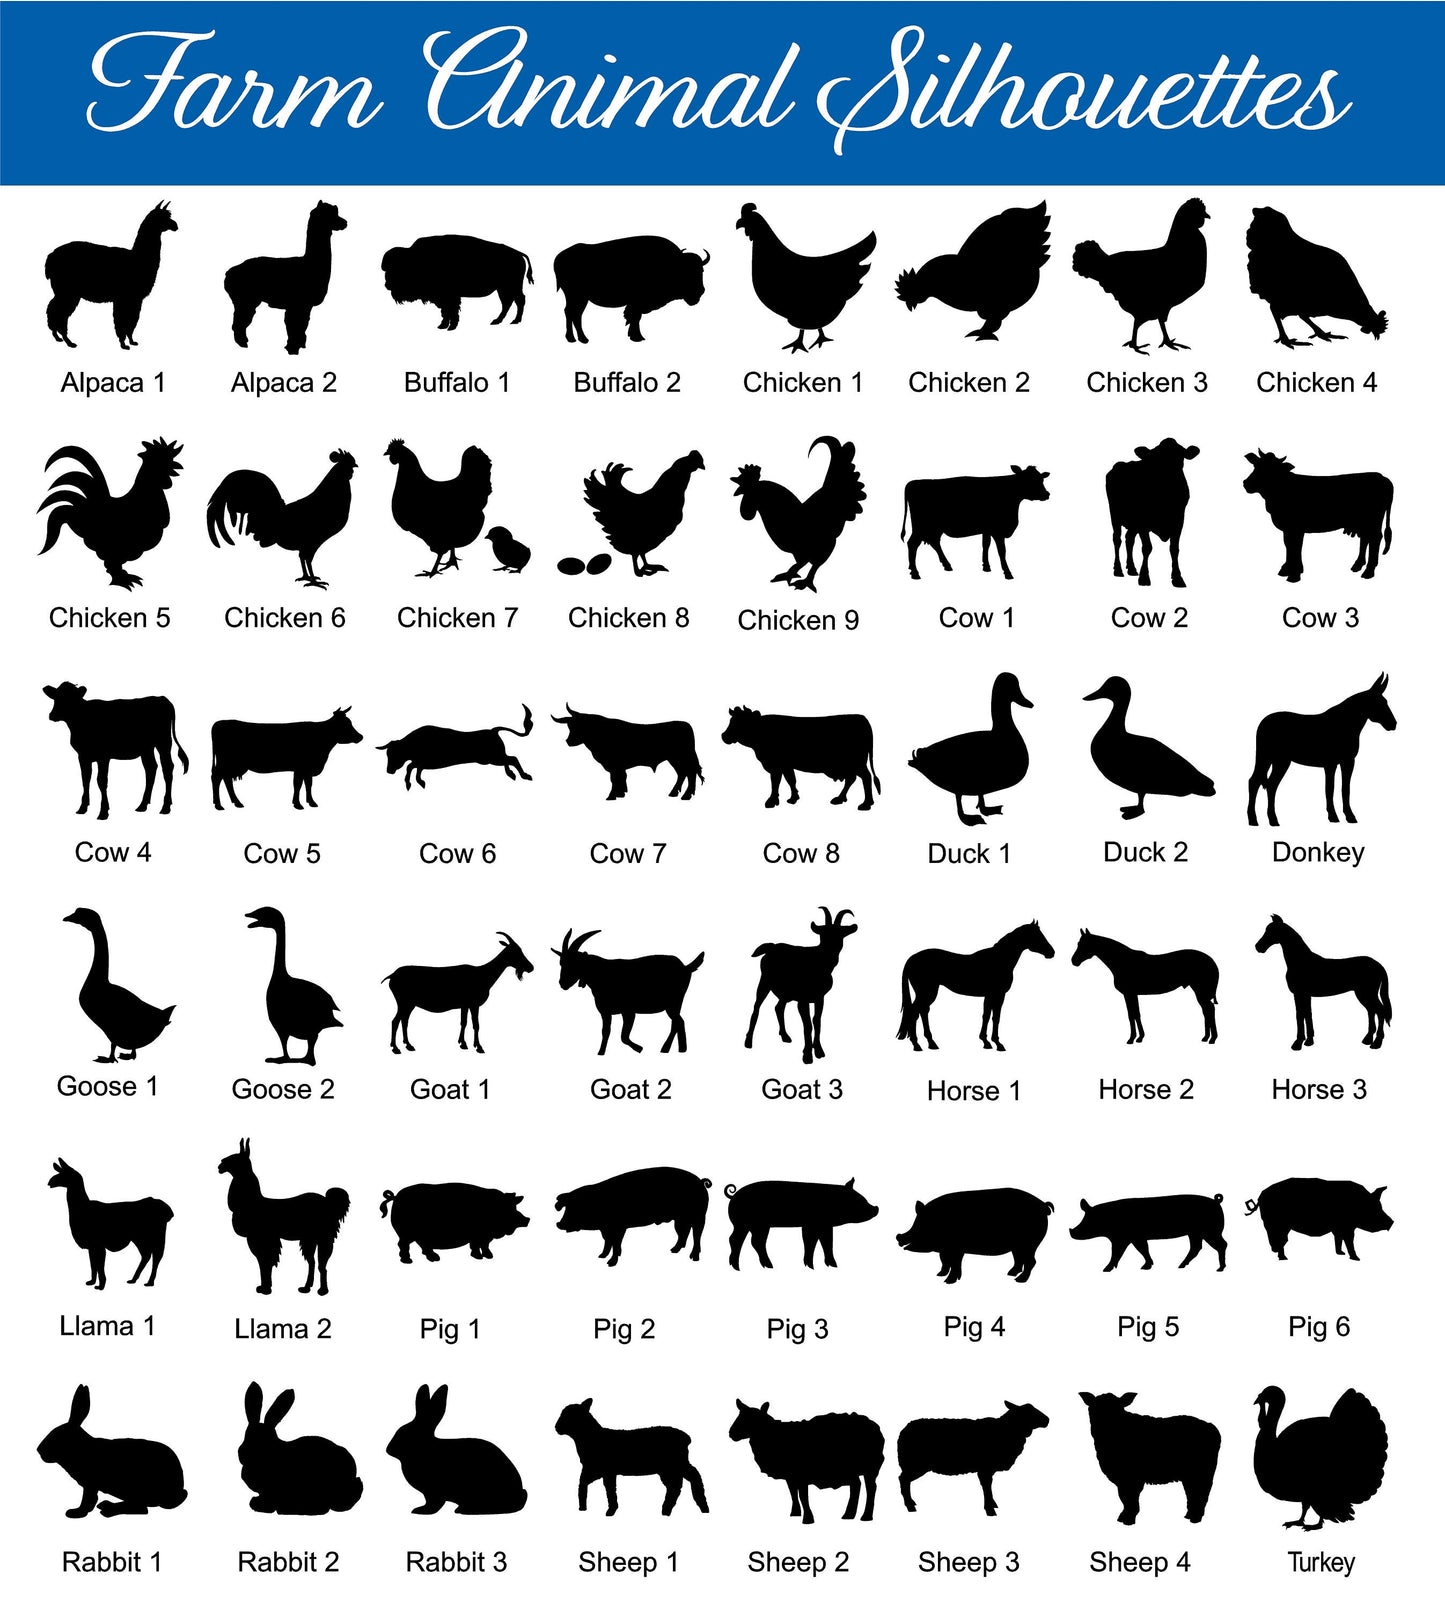
Made using 4" x 4" PVC post Sleeve material, the addresses and graphics are computer cut using high performance black vinyl to last years and years. White posts are factory PVC finish; colors post options are our proprietary rich texture hardcoat with your choice of 9 colors. Our posts will not rust or rot. Designed for long term outdoor use. The address number/silhouette will be solar LED backlit illuminated.
The overall post height is 72" tall and the mailbox sits at regulated rural mail delivery height.
The addresses are inset into each side of the upright post for people to view from either direction while driving down the street. Installation is straight-forward, simply mount over an existing treated wood 4x4 post (nominal 3.5" x 3.5") or install a new treated wood post (not included) in the ground. We include the screws to attach the PVC post sleeve to the treated wood post.
Your Mailbox post should remain in place for years and years, maintenance free to help direct friends and family and deliveries as well as your mail directly to your door.
ABOUT YOUR MAILBOX POST
Your mailbox address post has a solar cap that lights the interior to illuminate the letters. Where you install the post matters - the sunlight should hit the cap and the post should cast a well defined shadow for 4-8 hours per day to receive the longest charge for the battery. Since the battery is depleted every night, no matter where you install the address post, there will be some days where there is not enough sunlight and the solar cap will not receive sufficient electricity to fully charge and therefore the post will light only for a short time and sometimes will not light at all. Most nights it will illuminate, we just want you to have a realistic expectation. Also, on those nights where it does not light, it still has high contrast so that the pizza driver will easily see your address. As with all solar gizmos you can currently buy, this is to be expected and does not indicate a failure of the solar cap. In winter, the sun’s rays hit the earth at a shallow angle. These rays are more spread out, which minimizes the amount of energy that hits the solar cap, and then it will not last as long into the night as in spring, summer and early fall. Be sure to regularly clean the cap and remove dirt, snow, and ice from the solar panel.
MAILBOX
We offer a medium size plastic mailbox for your convenience. We do not make it. It is constructed from durable plastic and will not rust or dent. It is 35% larger than standard mailboxes. It is approved by the United States Postal Service. When you choose this option, all screws for mounting are included and mounting plate is sized perfectly for easy installation. Size of the mailbox is 7.6 in wide x 11.25 in high x 19.5 in deep - 1097 cubic inches.
Installation / Mounting
The Solar Address Sign Post will need to be installed where the cap receives sunlight throughout the day. If mounted in a shady location it will not work properly. The light may or may not stay on until the morning, but it should turn on automatically every evening once charged and last for a number of hours. If the length of time that the light stays on is diminishing it may be time to replace the battery (see solar cap section below).
Insert the mailbox support arm into the large holes in the vertical post sliding it through until it fully seats. Slide the end cap over the support arm and insert the mounting screw.
The solar cap is separate from the post for shipping purposes. Remove the 3 cap mounting screws from the top of the post. Flip the switch on the underside of the cap to ON and orient the cap so that the 3 holes in the cap are aligned with the 3 holes in the post. Reinstall the 3 screws.
Dig a hole for a 4x4 treated wood post (not included) and backfill. Slide the mailbox post over the 4x4 treated wood post. Drill 2 holes through the pvc post sleeve to attach the post sleeve to the treated post (not pre-drilled so you can determine the best place for them for your needs). Screw two screws into the holes to fasten the mailbox post to the treated wood post.
With Mailbox - set mailbox on mounting board and fasten the 4 screws.
Without Mailbox - we have included two 1” PVC mounting boards - these may or may not work with your mailbox. If they work, they are designed to be mounted perpendicular to the mailbox support arm - you will need to cut them to length to fit within the mounting lip (on the bottom) of your mailbox and space them so they align with the mailboxes mounting holes - then screw them to the support arm and screw the mailbox to the mounting boards.
Solar Cap
Remove the protective plastic from the solar cap.
Let the cap charge in full sun for a complete day before expecting the sign to backlight. On cloudy days and in winter the solar panel will not generate as much electricity and the battery may not be charged to full capacity. On those days, the light may not last as long into the night and this is expected as with any solar device.
The cap includes a rechargeable AA battery which will need to be replaced every so often. When the battery needs replacing you can get a new battery at any big box hardware store in the solar lighting section. Choose a Nickel Metal Hydride (NiMH) AA battery with the highest milliamp hour (mAh) rating available at the store. The mAh will be written on the batteries to be able to make this choice. Simply remove the 3 mounting screws and then the screws in the underside of the cap to replace the battery.
We craft these under license from U.S. Patent 8,631,998 B1.
Share
